How to Use Essential Oils to Create Your Own Acne Treatment Soap
Hello Everyone,
Acne is a bane of smooth skin for many people in the world. It mostly affects teenagers. However, it can also affect adults whereby one gets cystic acne often. Adult acne really sucks!
Essential oils are known to naturally treat acne. You can use essential oils to create your own DIY acne treatment soap at home. You will therefore not need benzoyl peroxide and other over-the-counter treatments when you have all the natural anti-acne essential oils.
In this article, we share with you how to use essential oils to create your own acne treatment soap. First, here are some effective oils to use create acne treatment soap:
- Coconut oil
- Castor oil
- Tea tree oil
- Lavender oil
- Rose oil
- Oregano oil
- Geranium oil
- Bergamot oil
- Palm oil
Essential Oils Acne Treatment Soap Recipe
Here is the recipe how you can make this soap at home.
Ingredients:
- 10 ounces coconut oil
- 10 ounces olive oil
- 6 ounces neem oil
- 3 ounces palm oil
- 2 ounces castor oil
- 1 ounce tree oil
- 1 ounce peppermint essential oil
- 2 ounces beeswax
- 10 ounces of water
- 5 ounces of lye
Directions
- Measure water and lye in separate bowls using a kitchen scale.
- Combine the water and lye by pouring lye into the water and stir untillye dissolves completely.
- Let the lye mixture stay under a vent and cool down as you prepare the oils.
- Measure all oils—using kitchen scale and pour into a pot.
- Warm the oils and beeswax on low temperatures until all melts completely.
- Pour the melted oils into a crock pot. Ensure the crock pot is on the lowest setting
- Add the water/lye mixture in the crock pot and stir.
- Using a stick blender, blend the lye, oils, and water in the crock pot for about 5 minutes.
- After blending the mixture until it becomes thick like a pudding, cover the crock pot and cook the soap for about 1 hour.
- By now, the mixture should have folded on itself and it is somehow transparent.
- Prepare the molds.
- Add the essential just before you pour soap into the molds.
- Spoon soap mixture into molds. Allow the soap to cool for 24 hours.
- Remove it from the mold and place on a tray where there is a good flow of air to harden it further.
- Feel free to go ahead and use your own acne treatment soap.
There is no other facial cleanser that has the power of this soap. This is because it is utilizing the detoxifying and healing properties of these essential oils.
How does essential oils acne treatment soap work?
Now that know how you can create your own acne treatment soap, you might be wondering, how does it work?
Here are some powerful properties the essential oil soap has that can help treat your acne:
- Fight off acne-causing bacteria
- Disinfect skin
- Reduce redness
- Tighten large pores
- Purify pores
- Soothe inflammation
References
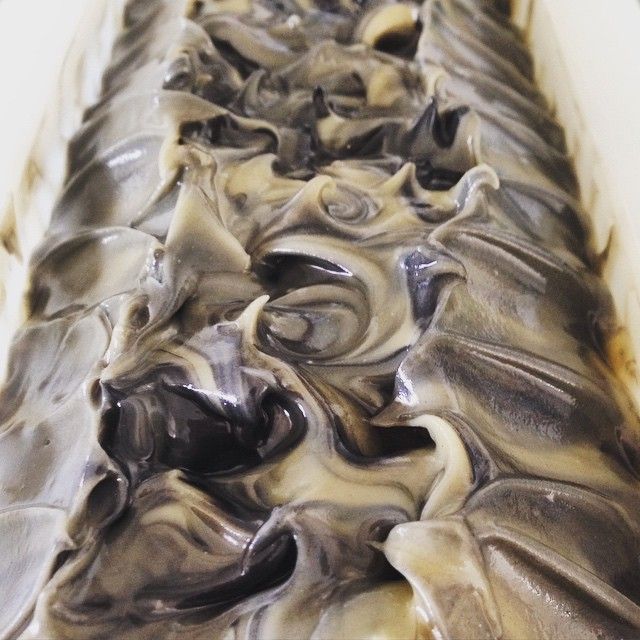
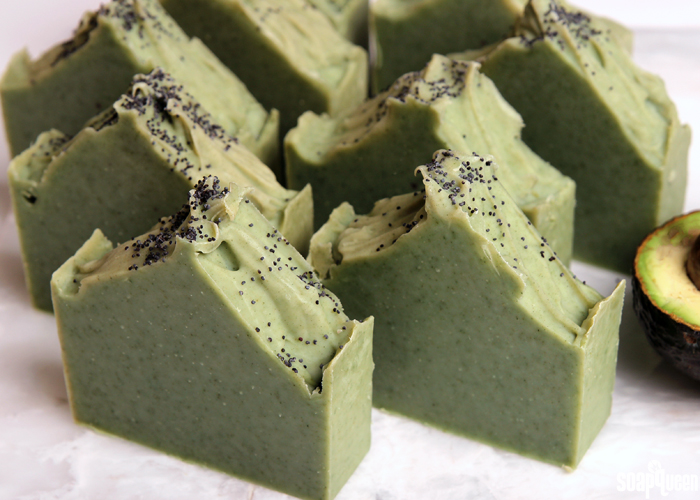
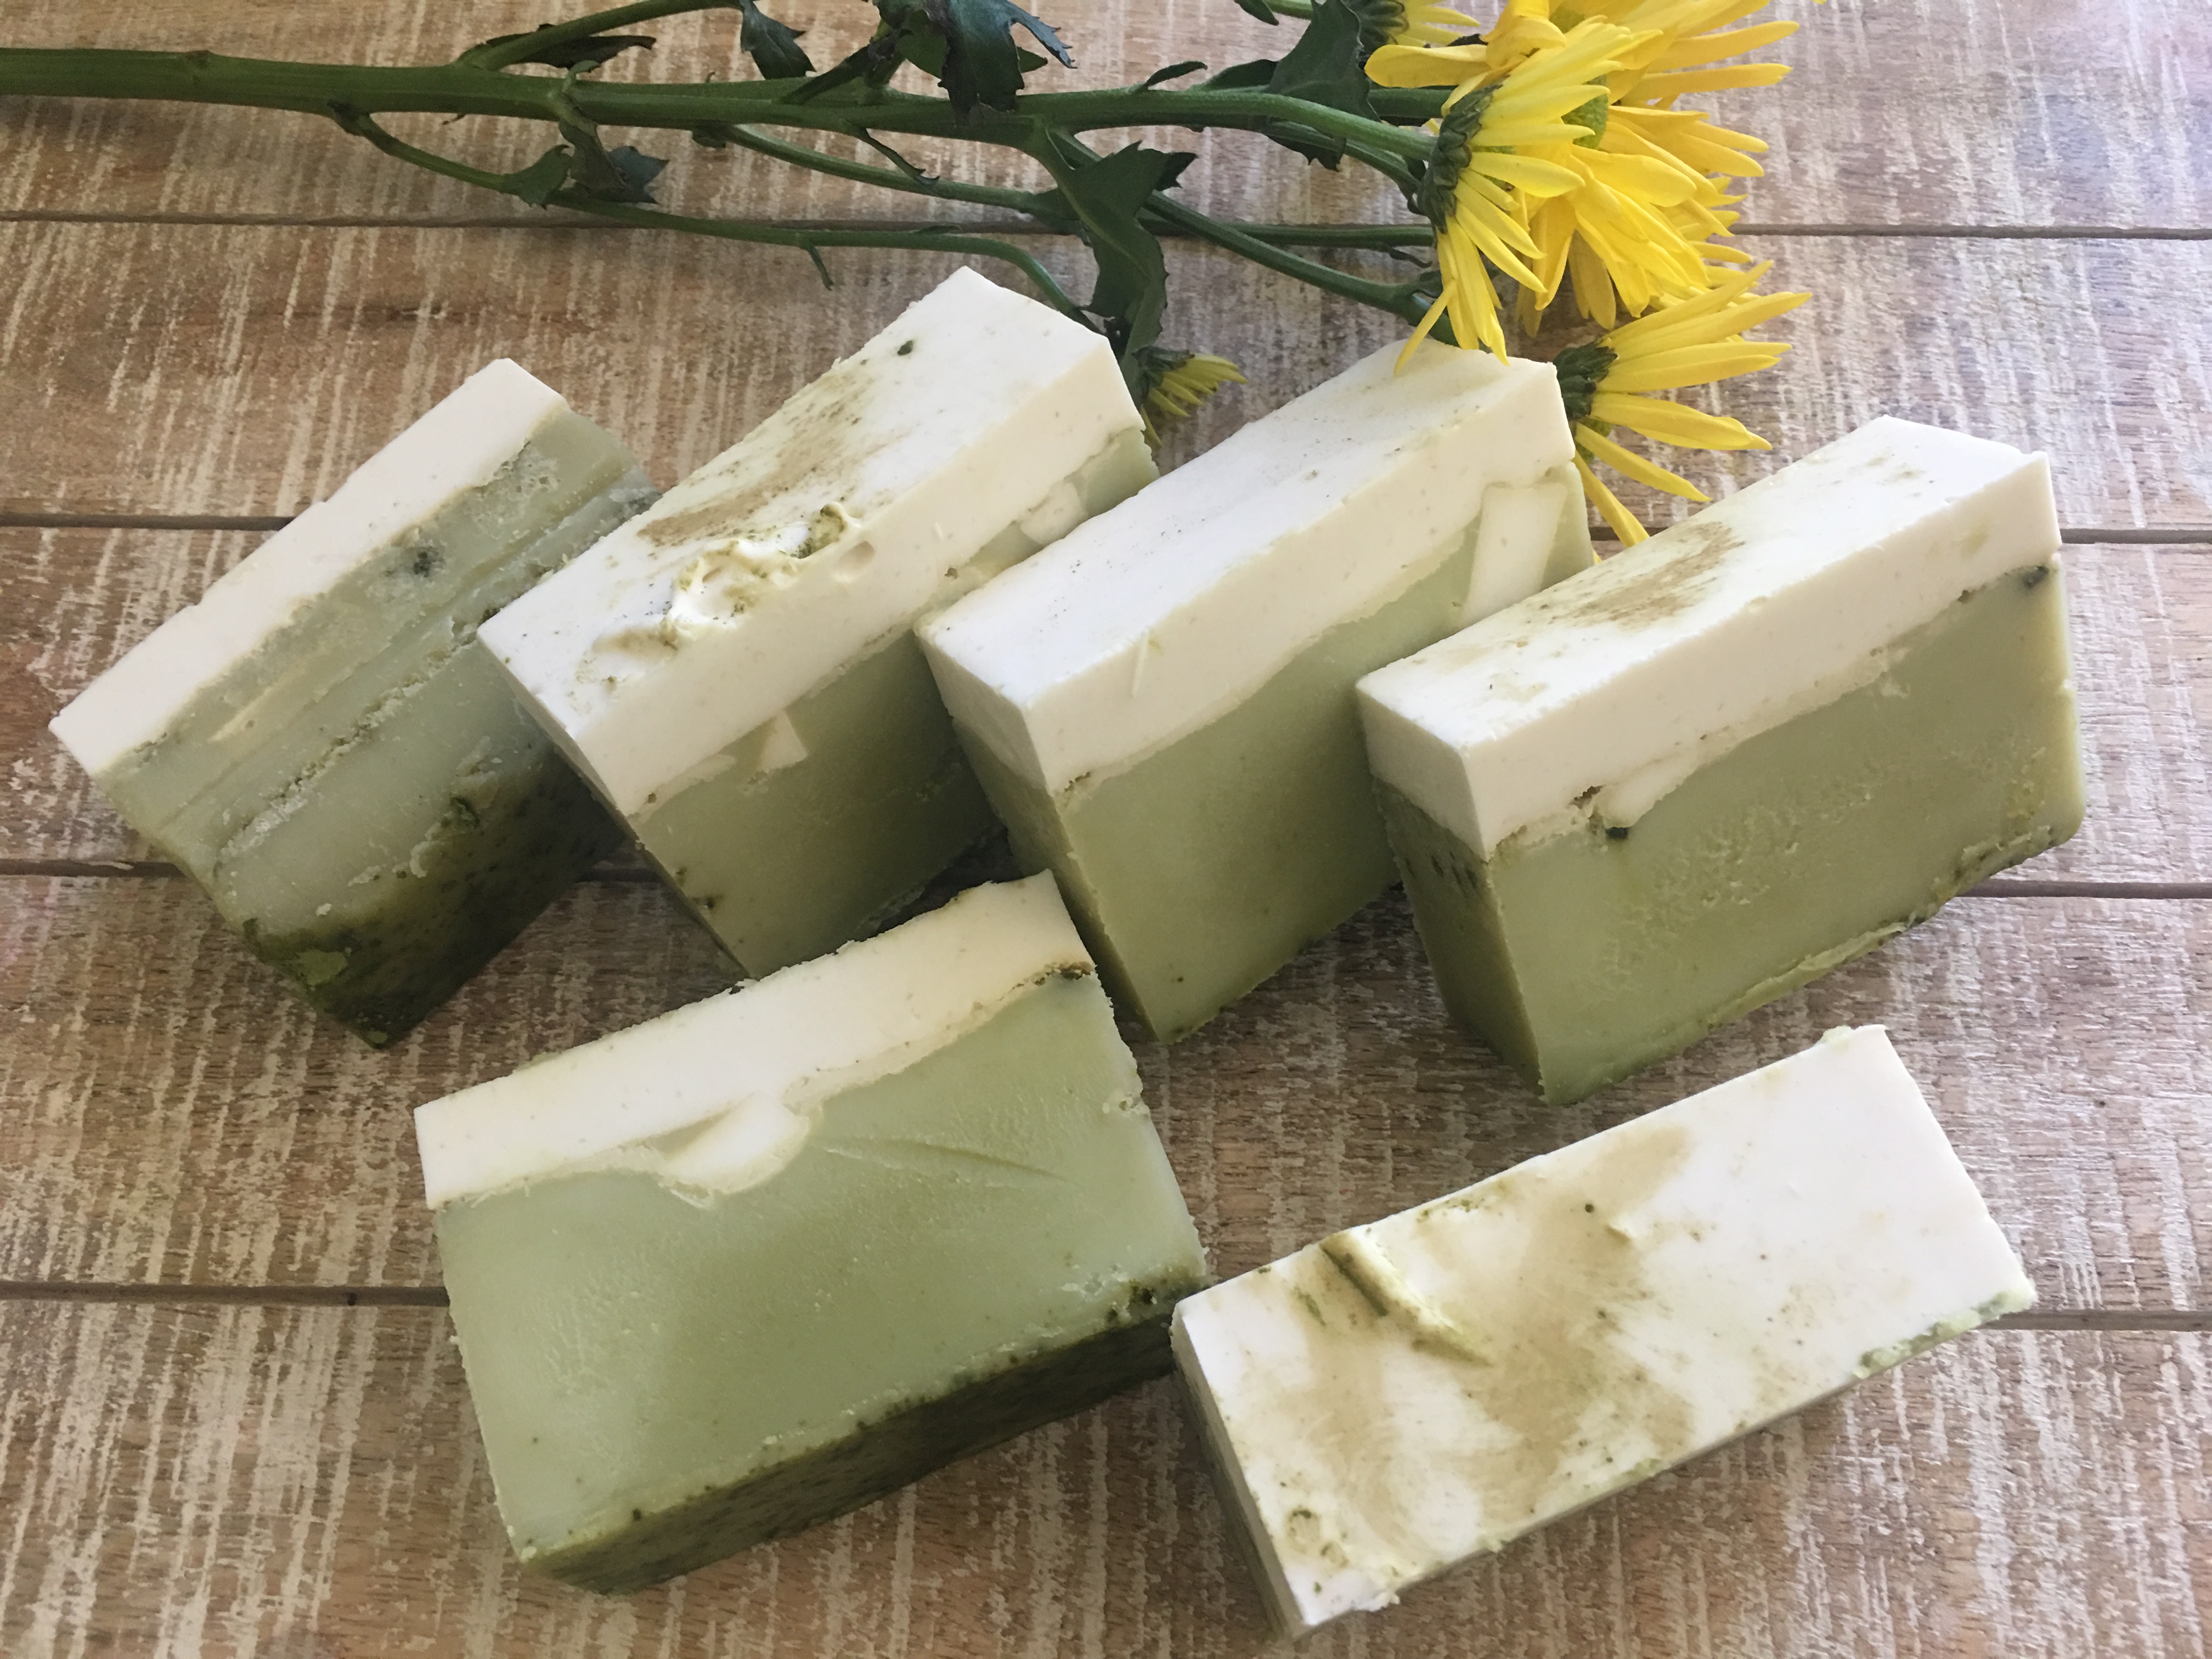
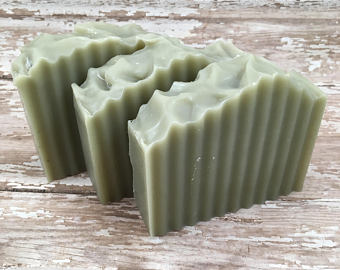
The first picture looks like some whip of cream and chocolate ice cream. It looks delicious, where as the rest looked like slices of delicious cakes. Hahaha.
.
Thanks for sharing these recipes.